Measuring machines adapted to your needs
By our extensive experience in optical metrology and inspection technology, we are able to adapt the system components to the given conditions and adjust the device to the individual requirements of the user. The development and manufacturing of our equipment solutions based on a longtime proven multivalent modular system. The metrological extension of existing systems is also possible.
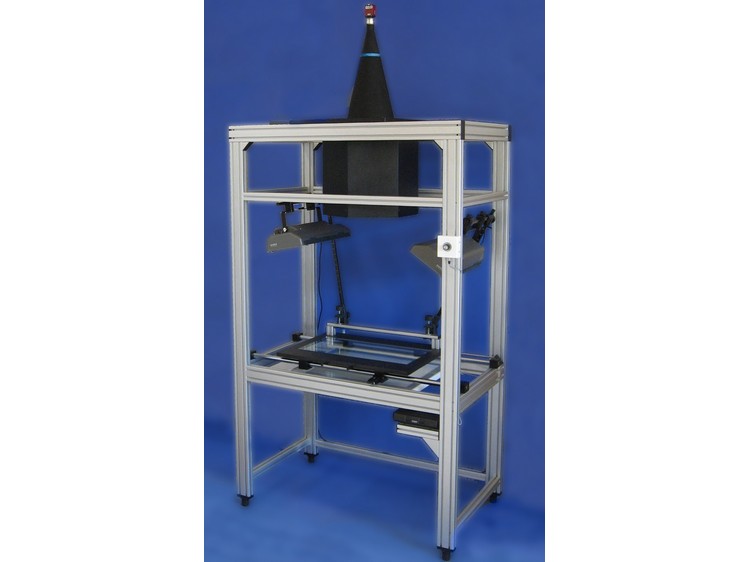
Device example: OMIG-series
OMIG – Optical measurement and inspection devices for production-related testing
Device example: Telecentric inspection device
Device example: High-resolution measuring workplace
OMP Z125m
Data Sheet for OMIG examples
Your advantages
- complete package from a single source
- project planning and development
- manufacturing and installation
- commissioning
- regular maintenance, service and calibration
- flexible adaption based on the customer-specific task
- freely selectable inspection and measuring volumes
- precision linear measuring systems for highest positioning and measuring accuracy
- granite base plates for lowest temperature expansion
Applications:
- measuring of large sized flat parts (e.g. solar panels, printed circuit boards)
- inspection and measuring of micro and macro structures
- height measurement in micrometer range
- material analyses
- acquisition of contours
- surface detection
- tool measurements
- forensics
- quality assurance
Function modules:
- problem-oriented optical systems
- latest camera technology with HD resolution
- LED lighting systems
- compact linear guidance
- granite base plates or aluminium leightweight construction
- drive units, direct current or stepper motors
- software modules for image editing, archiving, measuring, control, evaluation and documentation


